
This post may contain affiliate links. See our disclosure policy for details.
Letter formation activities sound dry and boring. For a kiddo dealing with fine motor challenges, it can be downright torture.
But! Practicing handwriting can { actually } be fun with a multi-sensory approach to letter formation activities. Read on to find seven ideas that will develop proper formation and make handwriting practice FUN!


Multi-sensory Approach to
Handwriting
This engaging approach will help your child develop fine and gross motor skills while learning how to properly form letters.

The following will work with any handwriting curriculum, but was specifically created to align with the multi-sensory lessons and formation described in the Handwriting Without Tears program and workbook: Letters and Numbers for Me (Kindergarten).
You can find both the Kindergarten Teacher’s Guide and the Workbook on Amazon.
#1 Practice Proper Letter Formation with
Capital Letter Exercises
Handwriting practice doesn’t mean just sitting at a table. Your kids will love practicing the alphabet with their whole body. Get up and get moving!
Benefits of alphabet exercises:
- Great gross motor practice
- Helps practice crossing the mid-line
- Emphasize reaching all the way to the top and bottom for big capitals
- Great way to get the wiggles out before workbook practice
- A fun way to review letters or quiz your child
Watch this video together for a fun handwriting warm-up or teach letters individually throughout the year with letter of the week.

You can slow the video down if you’re playing along. To change the speed of the video:
Click on the cog for settings
Adjust speed to .5 or .25
#2 Hands-on Letter Formation Practice with
Letter PIECES
My oldest really liked the hands-on letter building activities from Handwriting Without Tears. I used these letter pieces to introduce each new letter. Handwriting Without Tears teaches very specific letter formation based on long lines, short lines, big curves, and small curves. The pieces will give your child a concrete way to see how these elements fit together to make each letter in the alphabet.

The Wood Pieces Set for Capital Letters is available from Handwriting Without Tears for $32.50. That's a lot to spend on just one element of our handwriting program!Two frugal alternatives: |
|
| You'll find a Giant Magnetic Letter Construction Set on Amazon for about half the price. This set includes 21 durable plastic, magnetic pieces. The curves and lines are very similar to the Handwriting Without Tears blocks. The magnet feature adds a lot of versatility. Play on the floor or a whiteboard, and replace your old fridge magnets! |  |
| The Handwriting Without Tears Kindergarten Teacher's Guide has a template for the wooden pieces. This is simple and inexpensive - but time consuming. You can find foam board at your local craft store for about $1.99. Use the paper template from the guide to trace the number of pieces you need on the foam board. Cut out with sharp scissors or a craft knife. |  |
#3 Practice Proper Formation with
Chalk and a Slate
After practicing correct letter formation with the above activities, we take it to a slate to begin to practice the writing part of handwriting.
It’s fun to practice using the double sided slate and wet mini-sponges. We take turns writing and erasing the letters. A two-sided slate is key. You can keep momentum by flipping over the slate instead of waiting for it to dry.
- Demonstrate writing the letter with proper formation
- Your child uses a damp mini-sponge to erase your letter using the same formation
- He then flips over the slate and writes his own letter
- You use the wet mini-sponge to erase his letter
- Flip the slate over and repeat with a new letter

 | I purchased the Handwriting Without Tears Slate on Amazon after reading reviews for several slates. This one is a few dollars more, but well worth it. The slate is double sided, erases clean, and is the perfect size for little hands. I did not buy the (wildly expensive) chalk bits and square sponges. Instead, I found our materials at the dollar store and modified it to fit the program. Chalk bits: Break regular white chalk into thirds Mini sponges: Cut a plain sponge into 1 inch squares |
#4 Letter Formation Activities on the
Dry Erase Board
On a wall mounted white board, I demonstrate writing the letter in all different sizes. He uses a small eraser to erase the letters using the same formation.
Writing on a vertical surface promotes gross and fine motor development, and encourages your child to hold their wrist straight instead of curling it over and around their writing.

We use small, thin dry erase markers with erasers. The mini erasers on the end can be taken out and held separately to work on that pincer grasp.
#5 Practice Letter Formation with
Dry Erase Markers
Ready to sit down and practice handwriting? Writing practice is more fun with dry erase markers than on a piece of paper. Plus, if your little one has trouble putting enough pressure on the page, writing with markers will help. Even light pressure will create a clear line.
You can tear out or copy the pages from the Letters and Numbers Workbook and use them with dry erase sleeves OR laminate your own pages, like in the video above.
Dry erase worksheets:
♥ Prewriting Worksheets
♥ Lowercase Letters
♥ Capital Letters
♥ Bundle: Prewriting, Printing, and Cursive
#6 Use Sensory Play Activities
to Practice Proper Letter Formation
Sensory play is such a great way to practice proper letter formation. Your child will love that handwriting practice feels like messy fun instead of work.
 Sensory play to try:
Shaving cream
Sand
Rice
Sandpaper
Outside in the dirt
On a foggy window
On a foggy bathroom mirror
On the back of your dirty car, haha!
#7 Practice Letter Formation with
Play Dough Mats
The last fun way we practice proper letter formation is with play doh! The rolling, stretching, pulling, and smushing is great for strengthening little hands.
You can find printable alphabet mats for every season on Look We’re Learning.
 |  |
|  |
I like to print and laminate the mats so that we can use them again and again. If you have more than one child, a laminator is a great investment that will save you money and frustration in the long run!
I use the AmazonBasics Thermal Laminator with 3 mil laminating pouches.
A Few Extra Tips
A little bit goes a long way! Practice for 10 minutes and then move on to another subject.
Small tools help develop pincer grasp and are more fun! Color with crayons that have been broken in half and use golf pencils for writing practice.
Have your child evaluate his own writing by circling his best letter or word. Then, you tell him why it’s the best: It’s sitting all the way down on the line! That O is the most round! That capital T is standing the tallest!
I hope these letter formation activities make your handwriting practice more fun! What’s your favorite way to practice handwriting? Leave a note in the comments below.
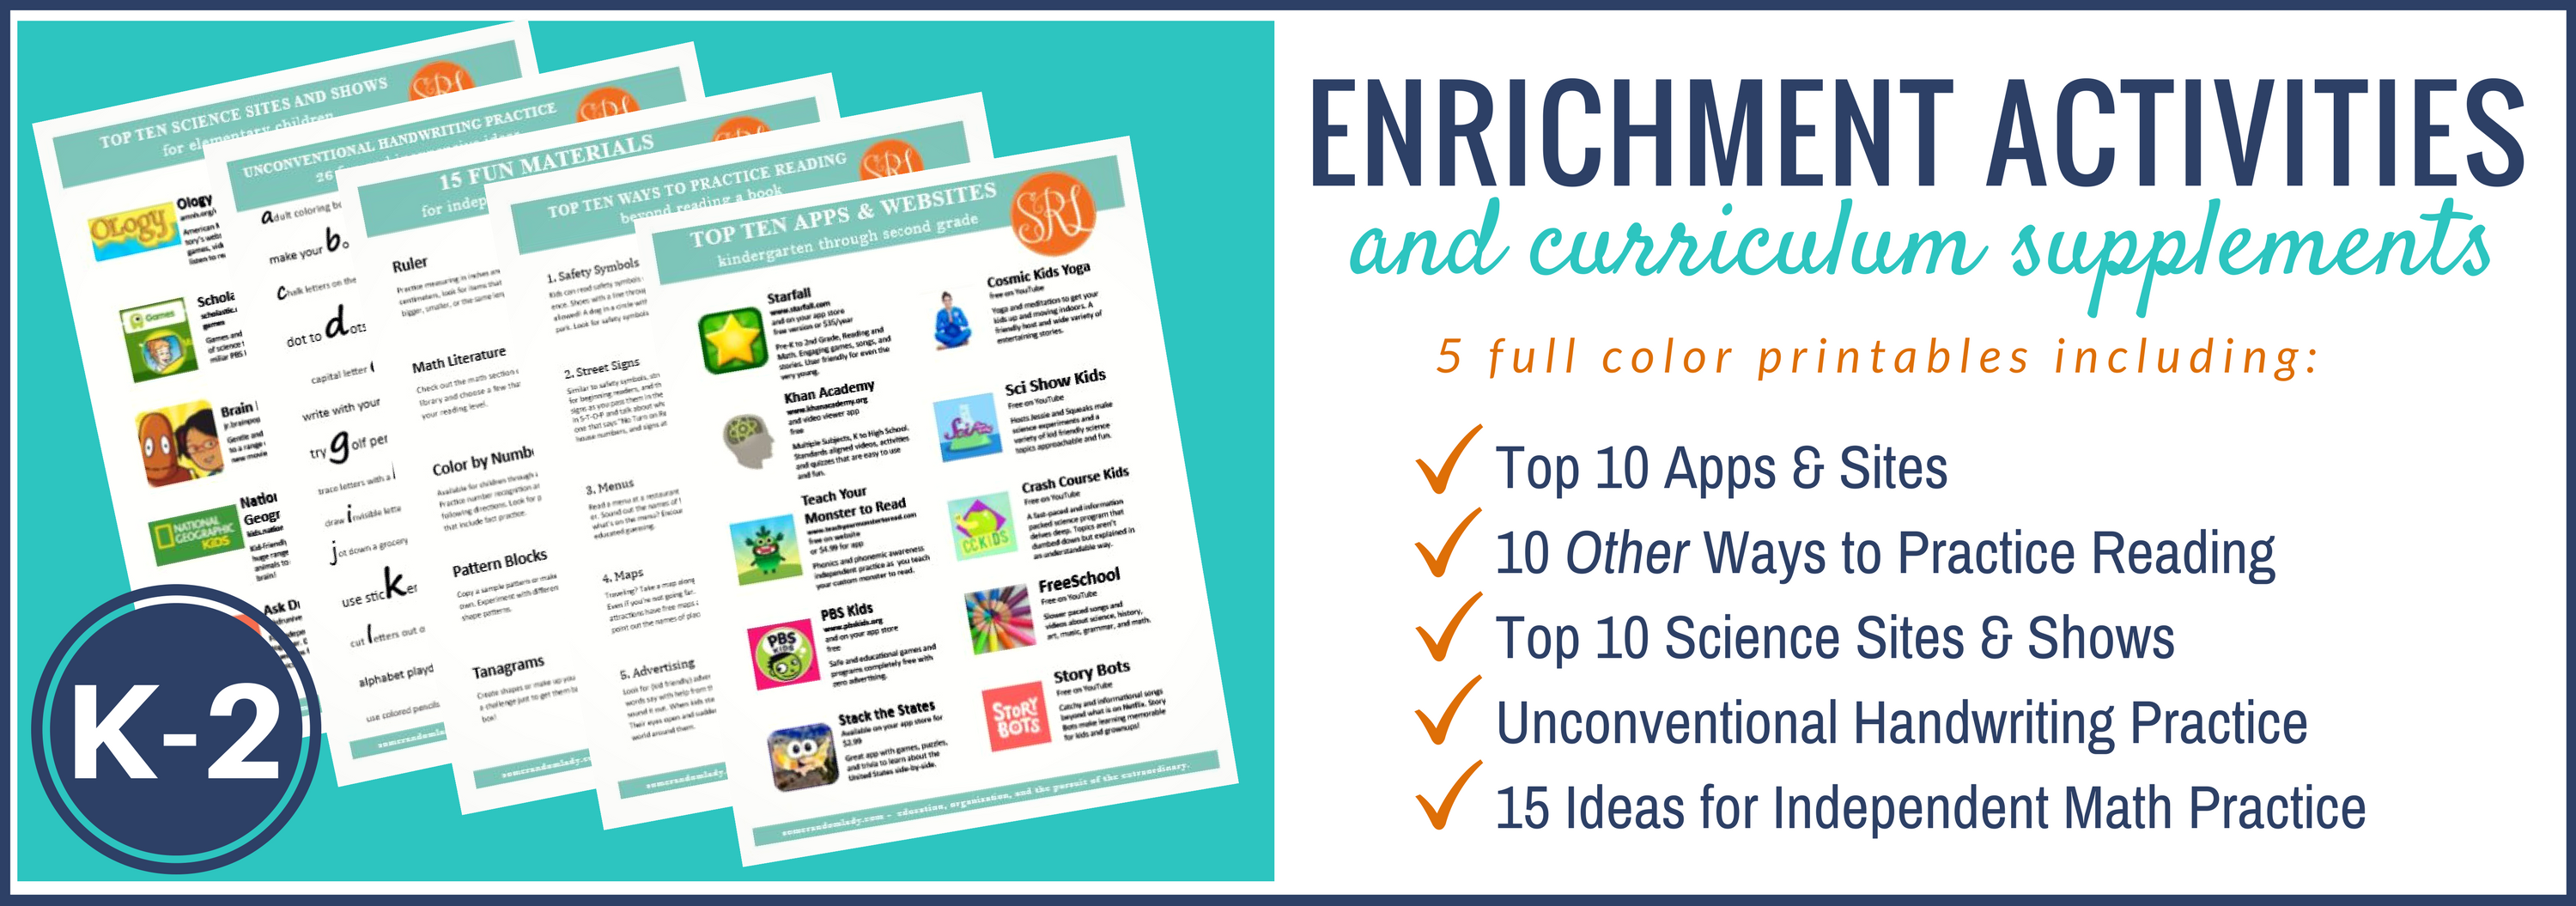
Free Printable List of Unconventional Ways to Practice Handwriting available in our K-2 Enrichment Pack
Our most popular kindergarten posts:

Ashley helps parents who want to homeschool find the resources they need to successfully teach their children. Ashley is a former teacher, current homeschooler, published author, and designer behind Circle Time with Miss Fox printables as well as the creator of this website, The Homeschool Resource Room.
I am a homeschool mom, and before quitting my job, I did school occupational therapy with kids. I just found your page, and I LOVE it!! I wish I had found it before I started homeschooling, when I was working, because I would have loved to have used your ideas! I’m glad I found you on Pinterest. You rock! Keep up the good work!😊 I can’t wait to show my five year old your alphabet video. She’s going to love it!
Thank you Stacey! You totally just made my day 🙂
Thank you! I have been searching for ideas for my next kindergartner, and these are GREAT!!!
That’s awesome! We made a LOT of progress using this stuff. I hope you guys have success! Mine thinks he’s mastered it and wants to try cursive next year! Lol!