

This post may contain affiliate links. See our disclosure policy for details.
Creating a natural backyard playground is an easy, fun, and extremely cost effective project. Not only can you get your backyard looking exactly the way you want it (since you’re not beholden to whatever the jungle gym designers put in the box at Walmart) but your kids can help! You’d be surprised how imaginative your children can be when asked to aid in the design process.
A backyard, natural playground uses little to no plastic or metal materials, and has an abundance of wood, earth, rope, and even water elements.
If you’d like some ideas for what to include in your natural playground blueprints, I’ve collected my favorite ideas for you to steal.

Stumps
Stumps are the swiss army knife of a natural backyard playground (and while we’re on it, teaching kids how to correctly use a whittling knife is a great addition to the playground!). Depending on their size and shape, stumps can be used to craft just about any part of your structure.
Cut into large “coin” shapes (no thicker than about 6”), they can be used for hopscotch or pathways. A slightly higher stump with a thickness of about a foot makes a good size seating, like if you wanted to have a small picnic space.
If you use stumps of varying heights and clump them together, they become a climbing structure. Think about putting progressively taller stumps in the center to form a pyramid structure.
You can also use 4’-5’ tall stumps (ok, at this point they’re basically vertical logs). One idea is to create hand/foot hold notches every 6” or so on the way up. Voila! Now your stumps can be scaled individually. When arranged in a line, a grouping of these functions like an obstacle course!
Logs
Logs are second only to stumps for their versatility. They should be smoothed out to prevent injuring little hands regardless of use, but that’s the only hard-and-fast rule. If you want to have your kids get in on that action, hand out tons of sandpaper and have a sanding party!
Large logs can be used as benches for seating, which the grownups visiting will thank you for.
You can take many logs and line them up end-to-end, either on the ground or elevated slightly, and now you have a series of balance beams. Separate each log from the next by about a foot for extra fun (since what kid doesn’t love leaping from one platform to another?)
Logs are also great fodder for pretend games. One of the best things about having a natural backyard playground is the lack of “rules” to play with the equipment. Just offer the materials and watch your kids decide the log is really a train or a magical dragon and enjoy seeing their creativity explode.
For a final challenge, you can even use a log to create a teeter-totter!

Rocks in the natural backyard playground
What can’t you do with a pile of smooth, not-too-heavy rocks? All you need is two buckets to contain them and you’ll see plenty of hauling, pushing, stacking, sorting, and designing with them. Consider placing a wagon nearby to really help your engineers out.
Hollow logs
If you’re fortunate enough to come across (or have the ability to create) a large, hollowed out log, they can be used as massive tunnels. You can secure them in place with heavy rocks on either side to keep it from rolling away. Alternatively, you can pile enough dirt to cover the entire log, thereby making both an over and under passage!
Use the landscape
Your backyard already has natural hills and valleys. Why not put it to good use? One of the best things about creating a natural backyard playground is the ability to customize it to your needs and space. Pay attention to the rises and falls in your backyard and turn them into climbing spaces. Secure ropes to the top of said hills and allow children to use the rope to “scale” them.
Living trees
Dead tree trunks are great to use as logs and stumps, but you can also use living trees alread established in your yard. Use trees at least a foot and a half or two feet in diameter as climbing structures. Pick healthy, mature trees and attach climbing ropes like these between them. If you only have single trees available, you can hang a single climbing rope on one of the branches.
“Maker zone” in the natural backyard playground
This one might have caused you to scratch your head. What’s a maker zone?
Generally, it’s a space devoted to tinkering, creating, and engineering. To help spur on your little carpenter ant, offer baskets or piles of twigs, pinecones, vines, bark, leaves, acorns- whatever you have on hand in your ecosystem. I’d suggest also placing a flat work surface nearby, either on the ground or elevated slightly to function as a table. Be prepared for lots of creations given as “gifts” throughout the day!
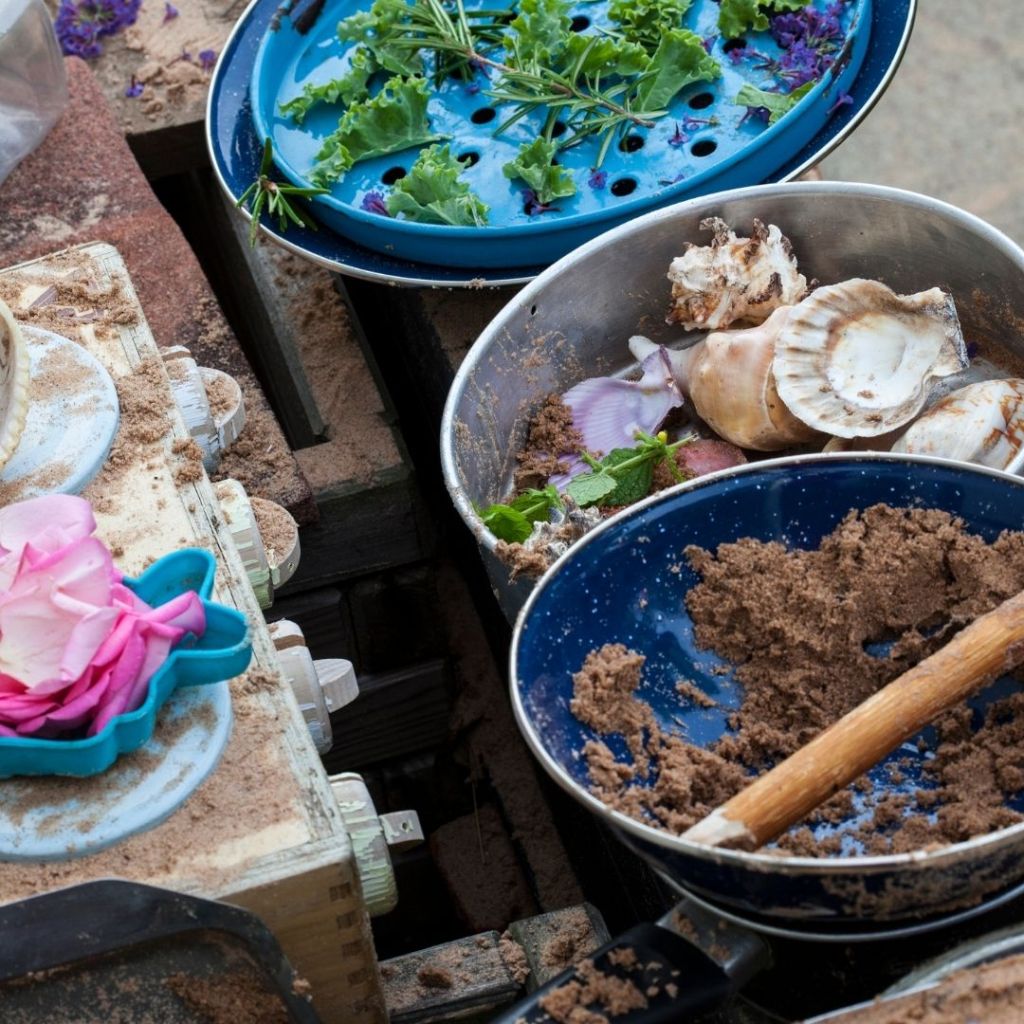
Mud kitchen
A mud kitchen is another great addition to your natural backyard playground. Outfit a child-sized work space with bamboo cutting boards, ladles, little wooden bowls and utensils, etc. If the weather turns cold, your mud kitchen can easily be converted into a snow kitchen. (And if you want other ideas for winter activities, I’ve got you covered!)
Sandy pit
Just like Roo from the Hundred Acre Wood, little children need access to a sandy (or just plain dirt-y) pit for digging. I’m not just talking about your typical sand box. While those are great for small projects, I’m talking “rip up the sod and dig to China” levels of digging. Give your kid a variety of tools so they can switch up their digging with raking, hoeing, or weeding, too.
Swinging elements in your natural backyard playground
What playground is complete without a swing? Luckily, you have a lot of swinging options in a backyard natural playground.
You can use a single wooden plank attached to ropes or chains for a stand-alone, standard swing, of course, and your kids will probably get plenty of use out of them. If you want to stretch your creative muscles, however, consider aiming for a whole bridge! You can create a swinging bridge by connecting multiple planks, again, with wood or chains. You can do this just a foot or less off the ground for a low-elements bridge. Alternatively, you can anchor them to much higher logs or platforms for a swinging good time.
For further reading on this topic:
- 10 Educational Outdoor Activities (that you can try tomorrow!)
- Why have a nature classroom?
- 10 MORE Educational Outdoor Activities For Kids
- 50+ Books about Nature for Kids

Hillary is a former teacher who went rogue and became a freelance writer. When not offering support and advice to homeschooling families, she tends to her own garden, family, and cat. You can connect with her on her website, homegrownhillary.com.