

I’m excited to share our Printable Timeline and Book of Centuries with you! I created this printable to accompany our World History and Science lesson plans. Read on for a tutorial on how to create an accordion timeline and all the product details!


We are excited to be traveling back in time to study ancient history this year! Many of the printable timelines we’ve found only go back far enough to track human history, but we have to make room for the dinosaurs on our timeline!
I created this printable geologic timeline to track history back to Earth’s beginning. Check out how we create a foldable accordion timeline below.

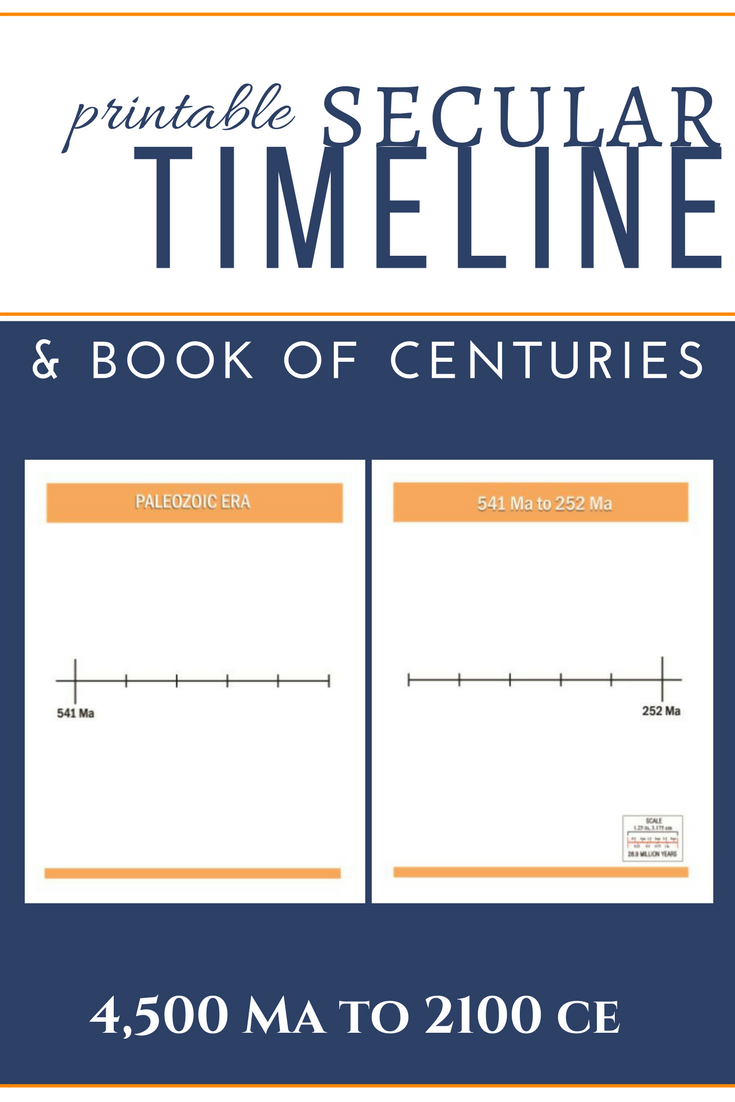
The printables pictured here are available for purchase!
⭐ Geologic Timeline⭐
⭐ Book of Centuries Timeline ⭐
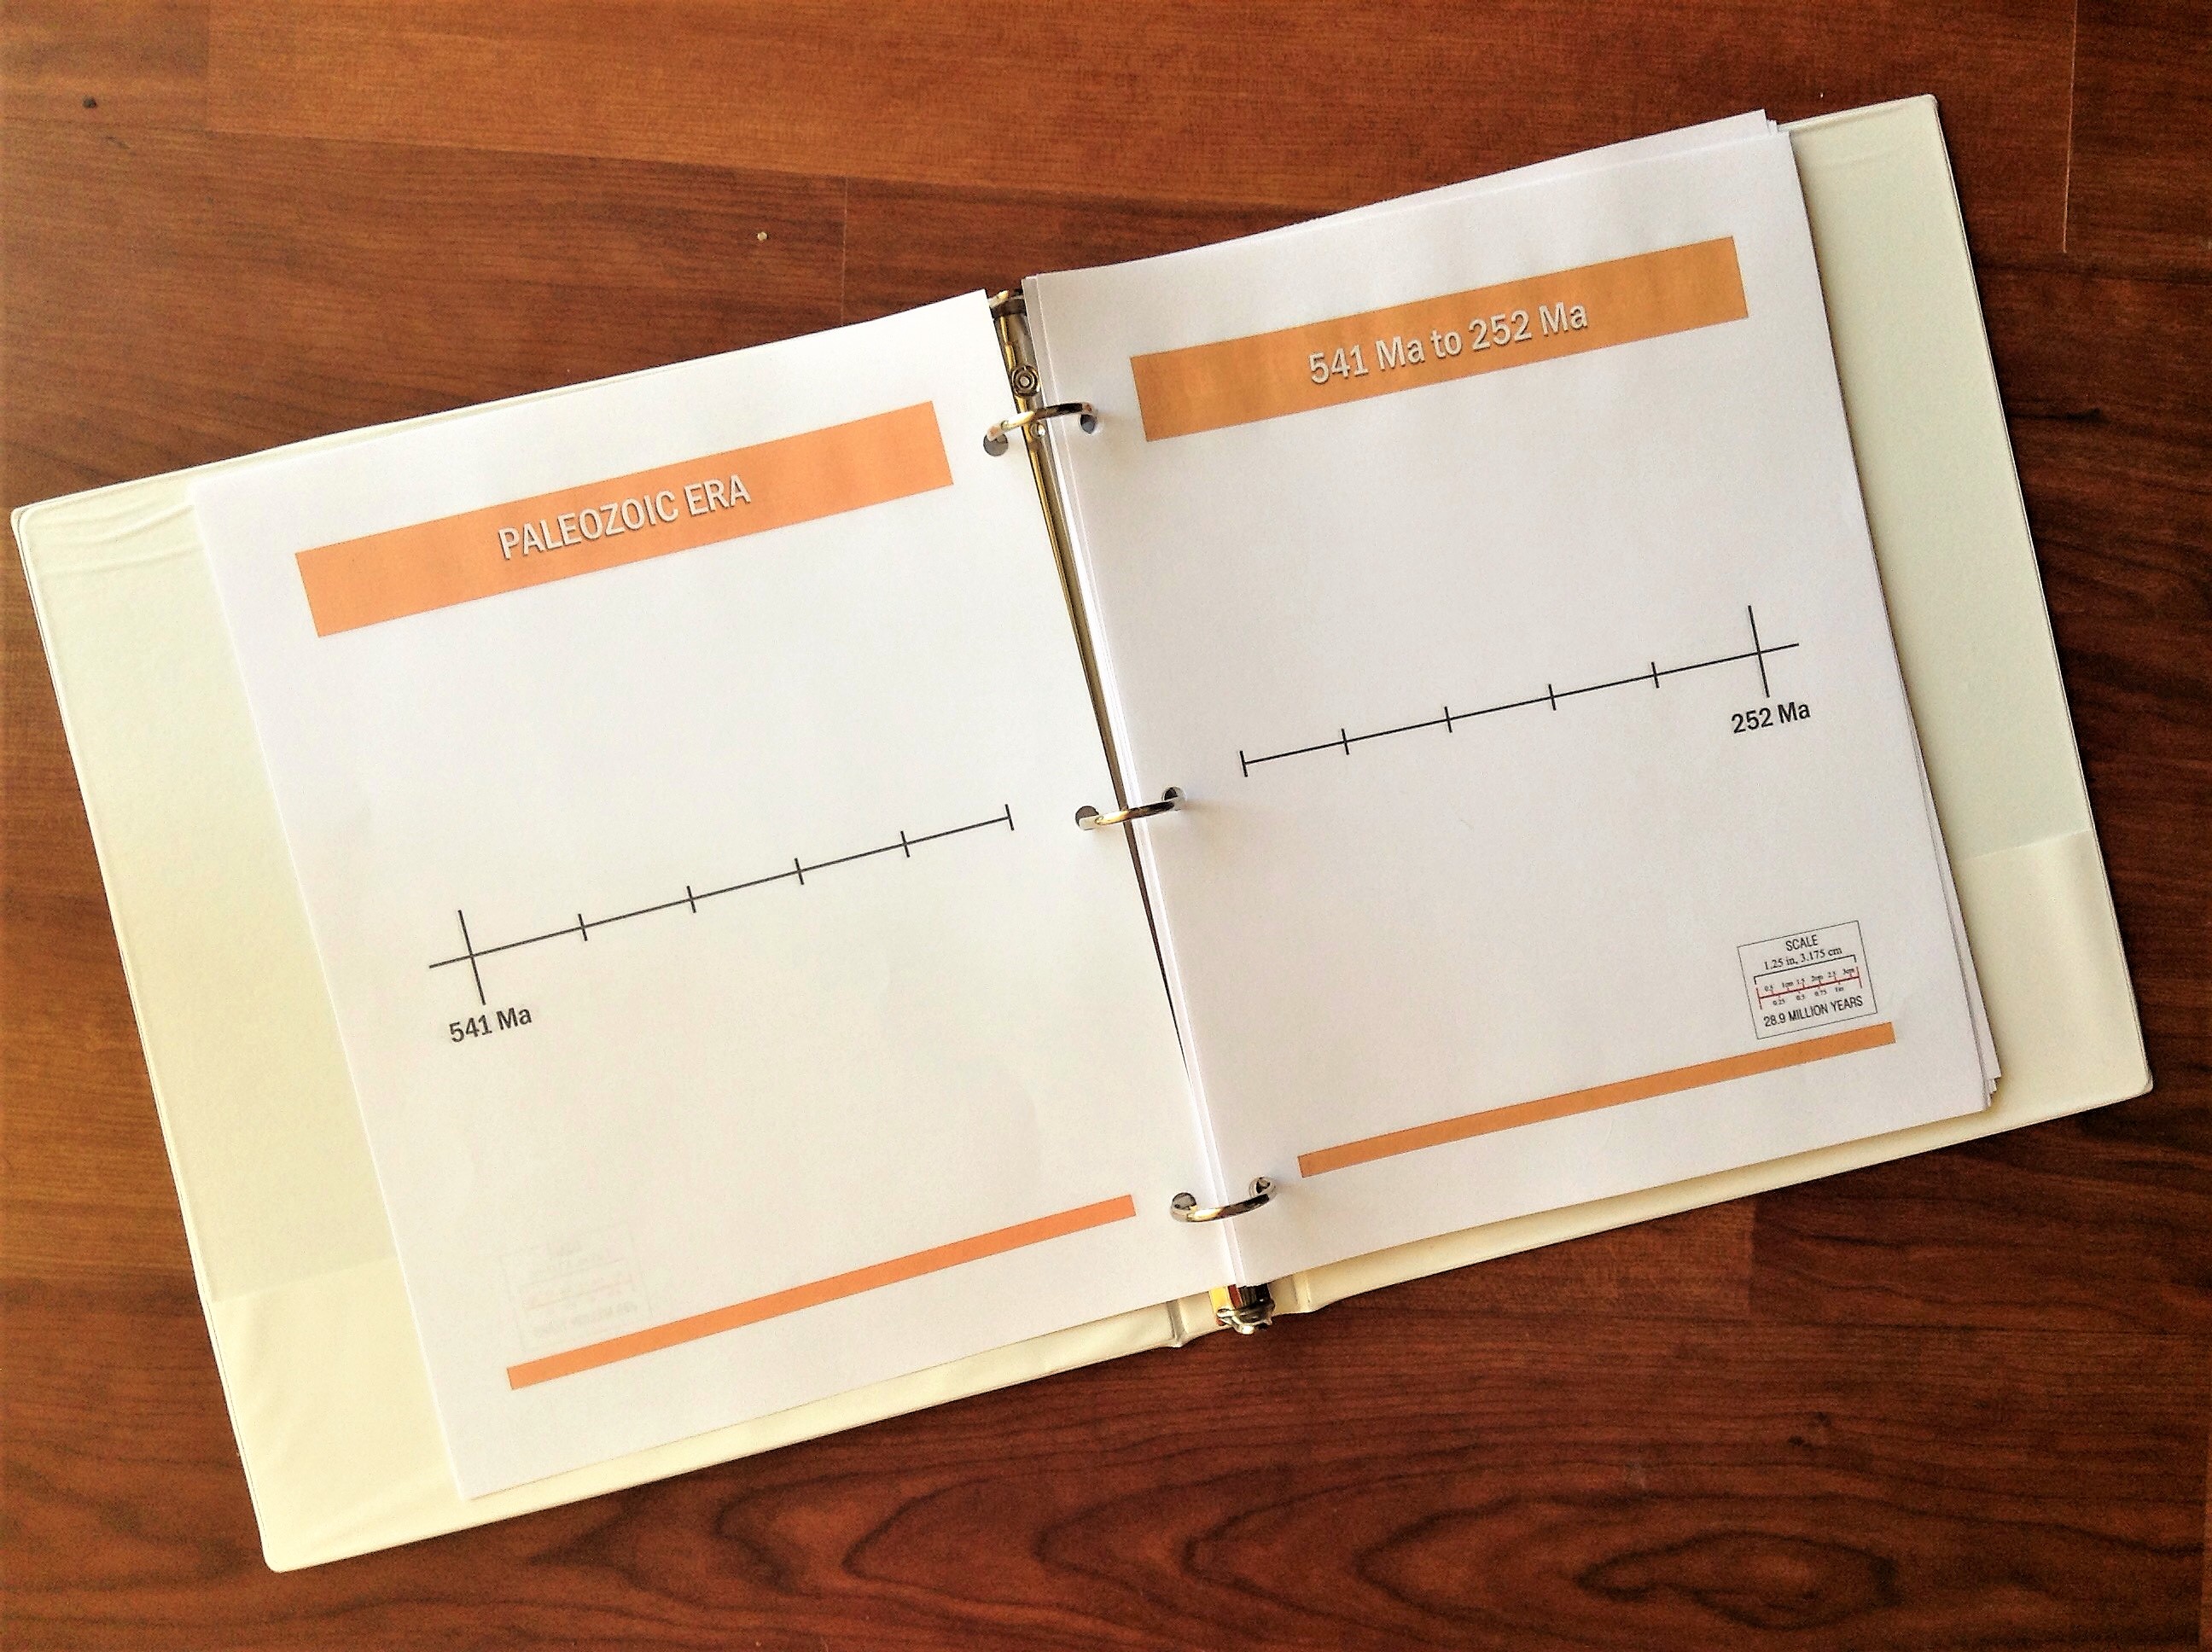
Each two-page timeline is labeled with era, period, and dated timeline. Timelines are divided into ten 1.25 inch sections.
Each spread contains a time scale: 1.25in = Xyears. Middle Ages and Modern Times spreads each cover 100 years. Prehistory and Ancient Times cover a varying number of years.
This timeline can be accordion folded or printed front-to-back for a Book of Centuries binder or booklet. Each set includes directions for printing. Bundle includes 56 pages. If this is too large for your needs, consider printing a half-size booklet (tutorial).
For more information on the Geologic Timeline, see GeoSociety.org and read about the Geologic Time Scale on Wikipedia.

Directions for Accordion Timeline
Materials
Printable Timeline or Book of Centuries
Cardstock
Clear Packing Tape (standard 2in wide)
Directions
(1) Print timeline on cardstock or heavy paper.
(2) Begin assembling one 2-page spread at a time.
-Position two facing pages approximately 1/8in apart, face up.
-Apply a piece of packing tape 1-2in longer than the pages so that an even amount hangs over each end. Be sure tape is evenly placed on both pages.
-Flip pages over and fold excess tape down onto the opposite side.
-Fold pages together face-to-face like a book.*
-Apply a piece of packing tape approx 1in shorter, half of the tape on one edge of the folded spread.
-Flip spread over, press firmly, and fold packing tape over to other side.
(3) Attach groups of spreads together.
-Apply tape in the same manner, though this time begin with the long tape on the back.
-Fold sections back-to-back and apply shorter tape to front side of timeline.*
*Applying tape to a folded spread will allow the sections to stay folded instead of bubbling up. For a bulletin board or wall display, simply adhere pages together while laying flat.


Ideas for your timeline
- Make an accordion pullout for Interactive Notebooking
- Bulletin Board or Wall Display
- Book of Centuries binder
- Trace your own history with a family tree timeline
- Create a timeline for historical events or natural occurrences
- Calculate years and label dates with your child
- Add important dates in world and family history


More history from the Resource Room:



Ashley helps parents who want to homeschool find the resources they need to successfully teach their children. Ashley is a former teacher, current homeschooler, published author, and designer behind Circle Time with Miss Fox printables as well as the creator of this website, The Homeschool Resource Room.